
Step-by-Step PC Build: Your Ultimate Guide to Building a Gaming PC
- Jul 15
- 4 min read
Building your own gaming PC might sound intimidating, but trust me, it’s one of the most rewarding tech projects you can take on. Not only do you get a machine tailored exactly to your needs, but you also learn a ton about how computers work. Whether you’re a gamer craving high frame rates, a professional needing power, or just someone who wants a reliable everyday computer, this step-by-step PC build guide will walk you through everything.
Let’s dive in and get your dream rig up and running!
Step by Step PC Build: What You Need Before You Start
Before you pop open that box of shiny new parts, you need to gather everything and plan carefully. Here’s what you’ll want to have ready:
A budget: Know how much you want to spend. Gaming PCs can range from a few hundred to several thousand dollars.
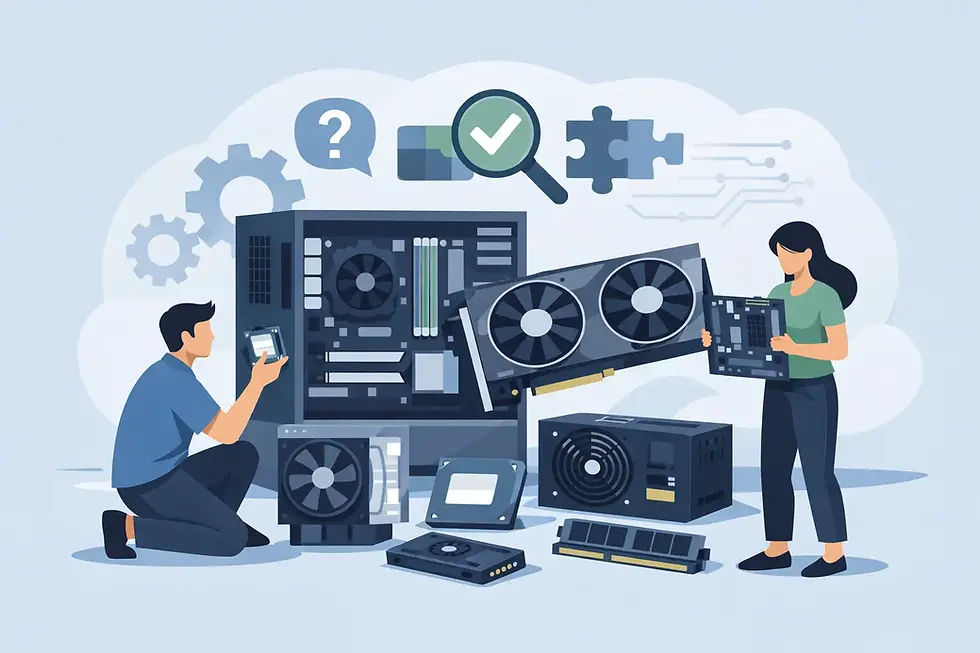
A list of parts: CPU, GPU, motherboard, RAM, storage, power supply, case, and cooling system.
Tools: A Phillips-head screwdriver is your best friend here.
Workspace: A clean, static-free area with good lighting.
Patience and time: Building a PC isn’t a race. Take your time to avoid mistakes.
Choosing Your Components
Picking the right parts is crucial. Here’s a quick rundown:
CPU (Processor): The brain of your PC. For gaming, a strong multi-core processor like an Intel i5/i7 or AMD Ryzen 5/7 is ideal.
GPU (Graphics Card): The heart of gaming performance. Nvidia and AMD offer great options depending on your budget.
Motherboard: Make sure it’s compatible with your CPU and has enough slots for RAM and storage.
RAM (Memory): 16GB is the sweet spot for gaming today.
Storage: SSDs for fast load times, HDDs for bulk storage.
Power Supply Unit (PSU): Don’t skimp here. Get a reliable PSU with enough wattage.
Case: Choose one that fits your components and has good airflow.
Cooling: Stock coolers work, but aftermarket air or liquid coolers can keep temps down and noise low.

Step by Step PC Build: Assembling Your Gaming PC
Now that you have your parts, it’s time to build. Follow these steps carefully:
1. Prepare Your Case
Open your case and remove any panels. Lay it flat on your workspace. This gives you easy access to the interior.
2. Install the Power Supply
Slide the PSU into its spot, usually at the bottom or top rear of the case. Secure it with screws. Make sure the fan faces the right direction for airflow.
3. Mount the CPU on the Motherboard
Handle the CPU carefully by the edges. Lift the CPU socket lever, align the CPU correctly (look for the triangle marker), and gently place it in. Lower the lever to lock it in place.
4. Install the CPU Cooler
If you’re using the stock cooler, apply a small pea-sized amount of thermal paste (if it’s not pre-applied). Attach the cooler according to the instructions. Connect the fan cable to the CPU fan header on the motherboard.
5. Insert RAM Modules
Open the RAM slots by pushing the clips outward. Align the notch on the RAM stick with the slot and press down firmly until the clips snap back in place.
6. Mount the Motherboard in the Case
Line up the motherboard with the standoffs in the case. Secure it with screws. Be careful not to overtighten.
7. Install Storage Drives
Mount your SSD or HDD in the designated bays. Connect them to the motherboard with SATA cables (unless you’re using an M.2 SSD, which slots directly into the motherboard).
8. Install the Graphics Card
Remove the appropriate expansion slot covers on the case. Insert the GPU into the PCIe slot on the motherboard until it clicks. Secure it with screws and connect any required power cables from the PSU.
9. Connect All Cables
This includes:
24-pin motherboard power cable
8-pin CPU power cable
SATA power and data cables
Front panel connectors (power switch, USB, audio)
Case fans
Double-check connections to avoid issues later.
10. Final Checks and Power On
Close the case panels, plug in your monitor, keyboard, and mouse. Power on your PC. If everything’s connected right, you’ll see the BIOS screen.

Is it Cheaper to Build My Own Gaming PC?
This is a question I get a lot. The short answer? Usually, yes - but it depends.
When you build your own PC, you avoid the markup that pre-built systems often have. You can pick exactly what you want and skip unnecessary extras. Plus, you get to reuse parts if you’re upgrading.
However, prices fluctuate. Sometimes GPUs or CPUs spike in cost, making pre-built deals more attractive. Also, building takes time and a bit of know-how, so factor in your own value.
Here’s a quick breakdown:
Pros of building:
- Customization to your exact needs
- Better price-to-performance ratio
- Learning experience and satisfaction
- Easier to upgrade later
Cons of building:
- Time-consuming
- Risk of compatibility issues if you’re not careful
- No immediate tech support like with pre-built PCs
If you want to dive deeper, check out this how to build a gaming pc guide for detailed tips and tricks.
Installing Your Operating System and Drivers
Once your PC powers on, you’ll need to install an operating system (usually Windows for gaming). Here’s how:
Create a bootable USB drive with the OS installer.
Insert the USB and restart your PC.
Enter BIOS (usually by pressing Delete or F2 during boot).
Set USB as the primary boot device.
Follow the on-screen instructions to install the OS.
After installation, download and install the latest drivers for your GPU, motherboard, and other components. This ensures everything runs smoothly and at peak performance.
Optimizing Your New Gaming PC
Congrats! Your PC is up and running. But don’t stop there. Here are some tips to get the most out of your build:
Update BIOS and drivers regularly: Keeps your system stable and compatible.
Use software to monitor temps and performance: Tools like MSI Afterburner help you keep an eye on your hardware.
Adjust in-game settings: Find the perfect balance between visuals and frame rates.
Keep your PC clean: Dust buildup can cause overheating. Clean your case and fans every few months.
Consider overclocking: If you’re comfortable, this can squeeze extra performance out of your CPU or GPU.
Building your own gaming PC is a journey, but it’s one that pays off with a machine that’s truly yours. Whether you’re crushing the latest AAA titles or powering through work tasks, you’ll appreciate the power and flexibility you’ve created.
Ready to start your build? Grab your parts, roll up your sleeves, and enjoy the ride!


Comments